

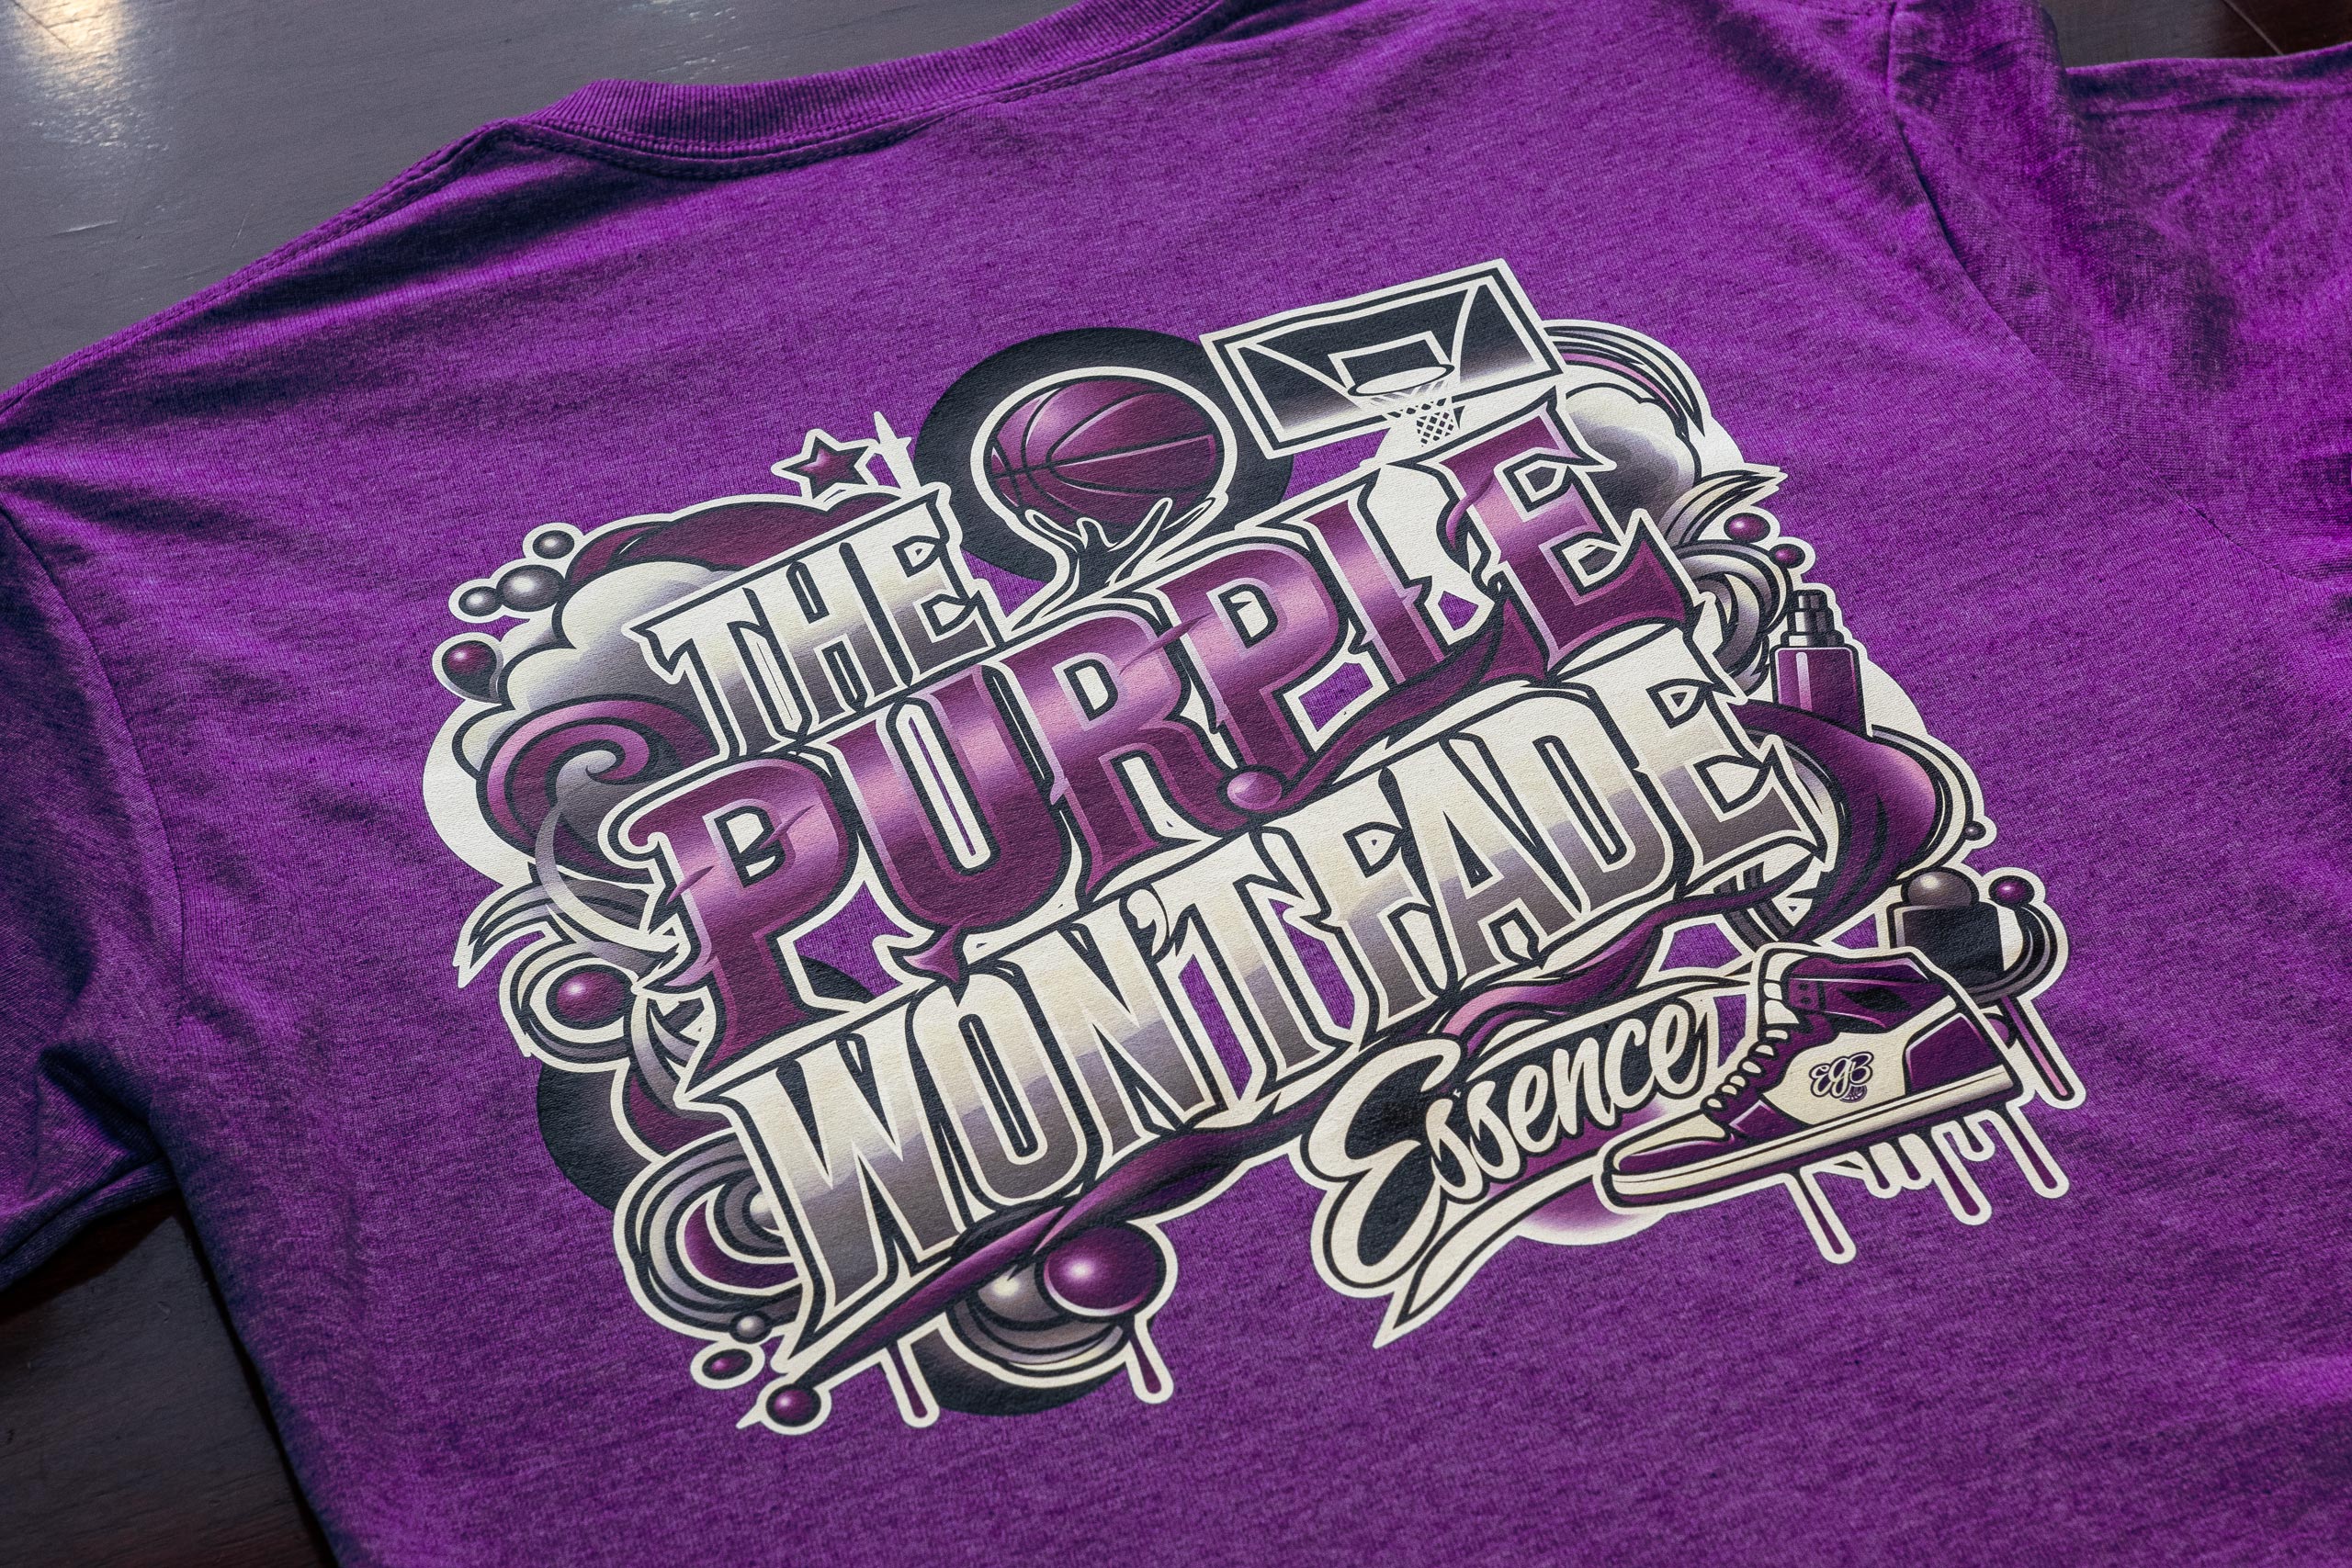
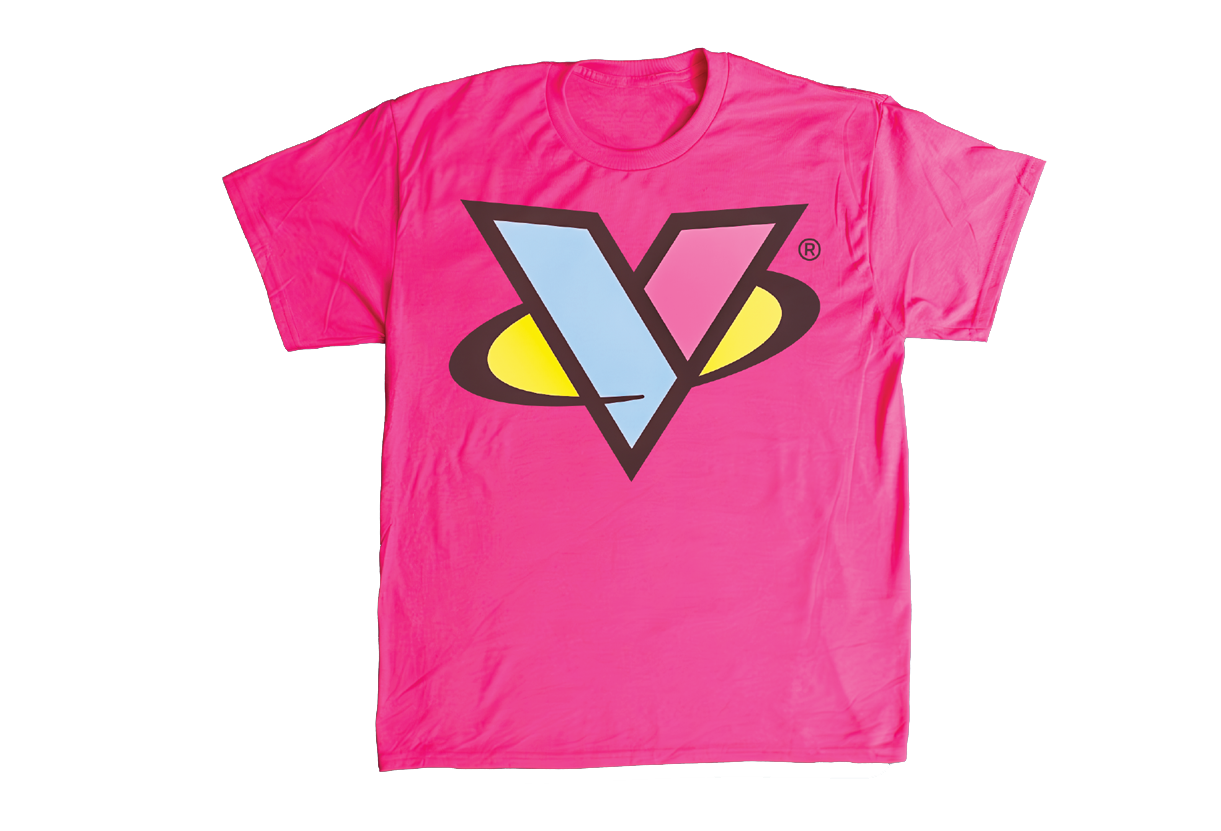
Color That Won’t Quit.
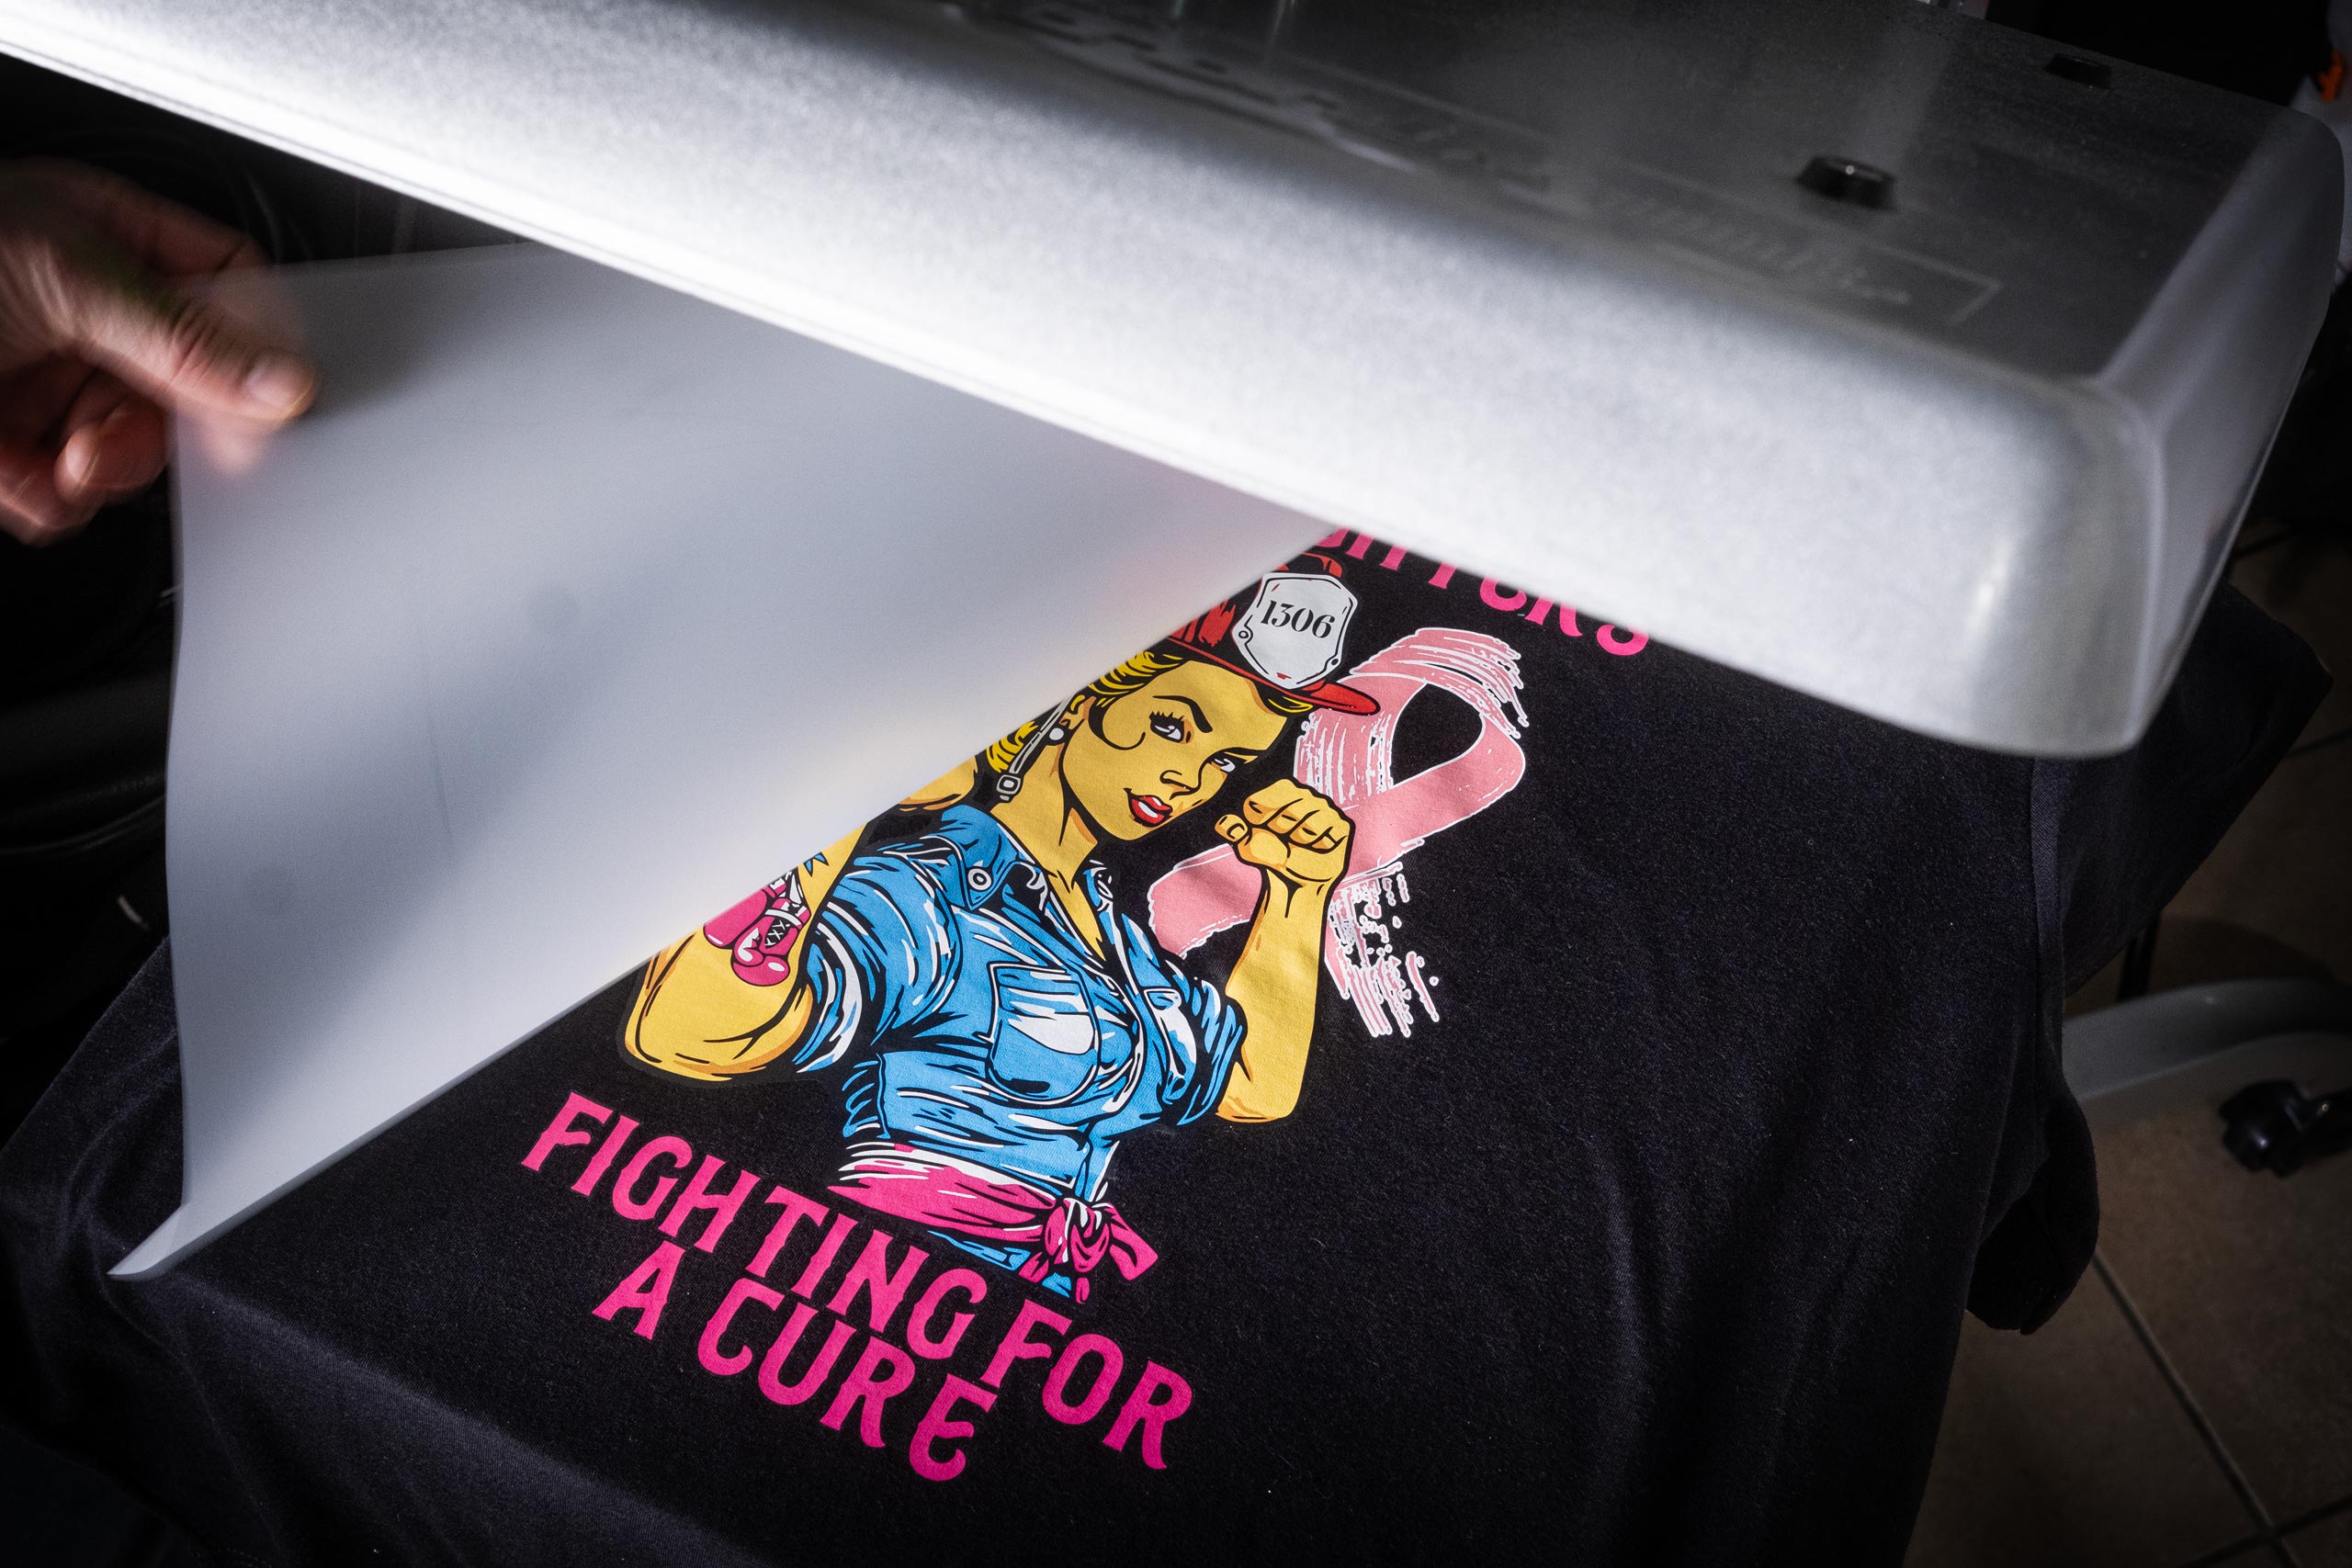
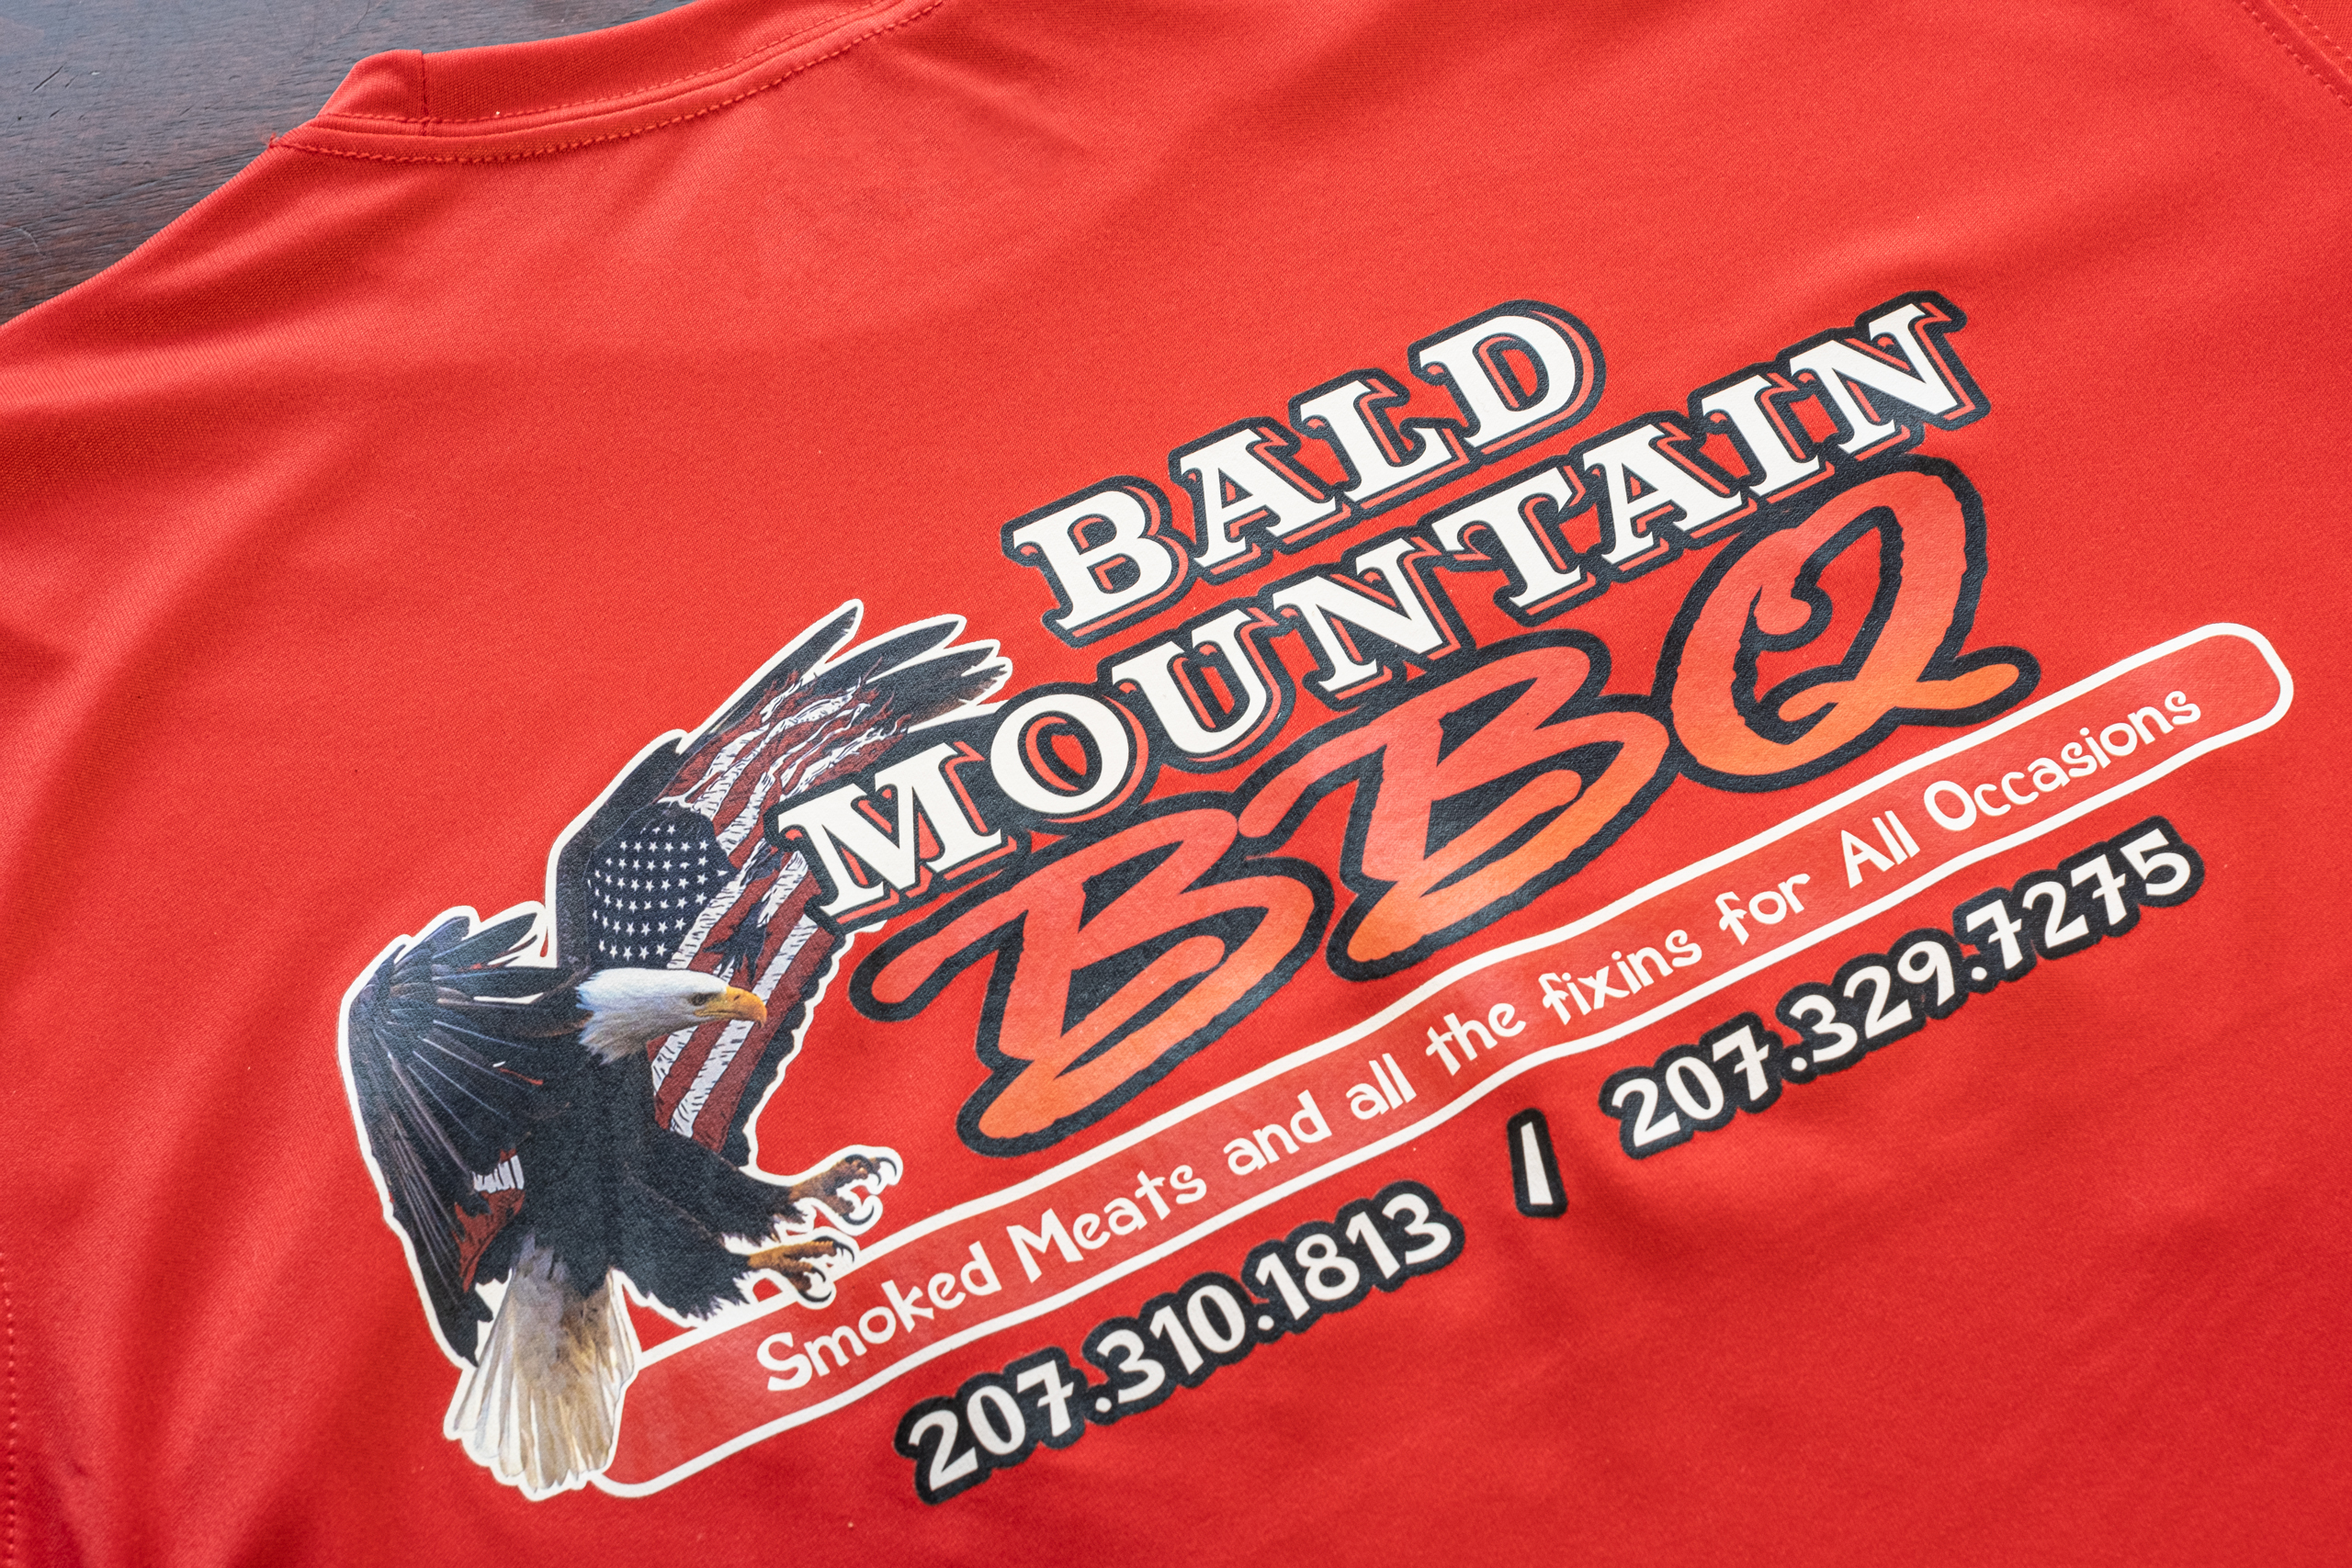
Full Color Fusion (FCF) hybrid transfers combine the best of screen printing and digital technology into one ultra-high-quality print. You get the crisp clarity of digital printing with the classic look and feel of traditional screen print. Delivering true high definition results every time.

Bold Designs. Built To Last.
Durability matters. Our proprietary chemistry does not crack, fade or peel even after hundreds of washes. FCF stretches with the natural curvature of the human body, maintaining a clean, vibrant, consistent imprint. Your print will look the same on wash 100 as it did on day one.
Highlights of Full Color Fusion®
The Best Of Both Worlds.
FCF Hybrid uses cyan, magenta, yellow, black, and white inks to produce an unlimited color range. Full Color Fusion is the top choice for artwork that demands consistent, high resolution, rich color with flawless accuracy.
Cotton & Cotton/Poly Blends
Polypropylene
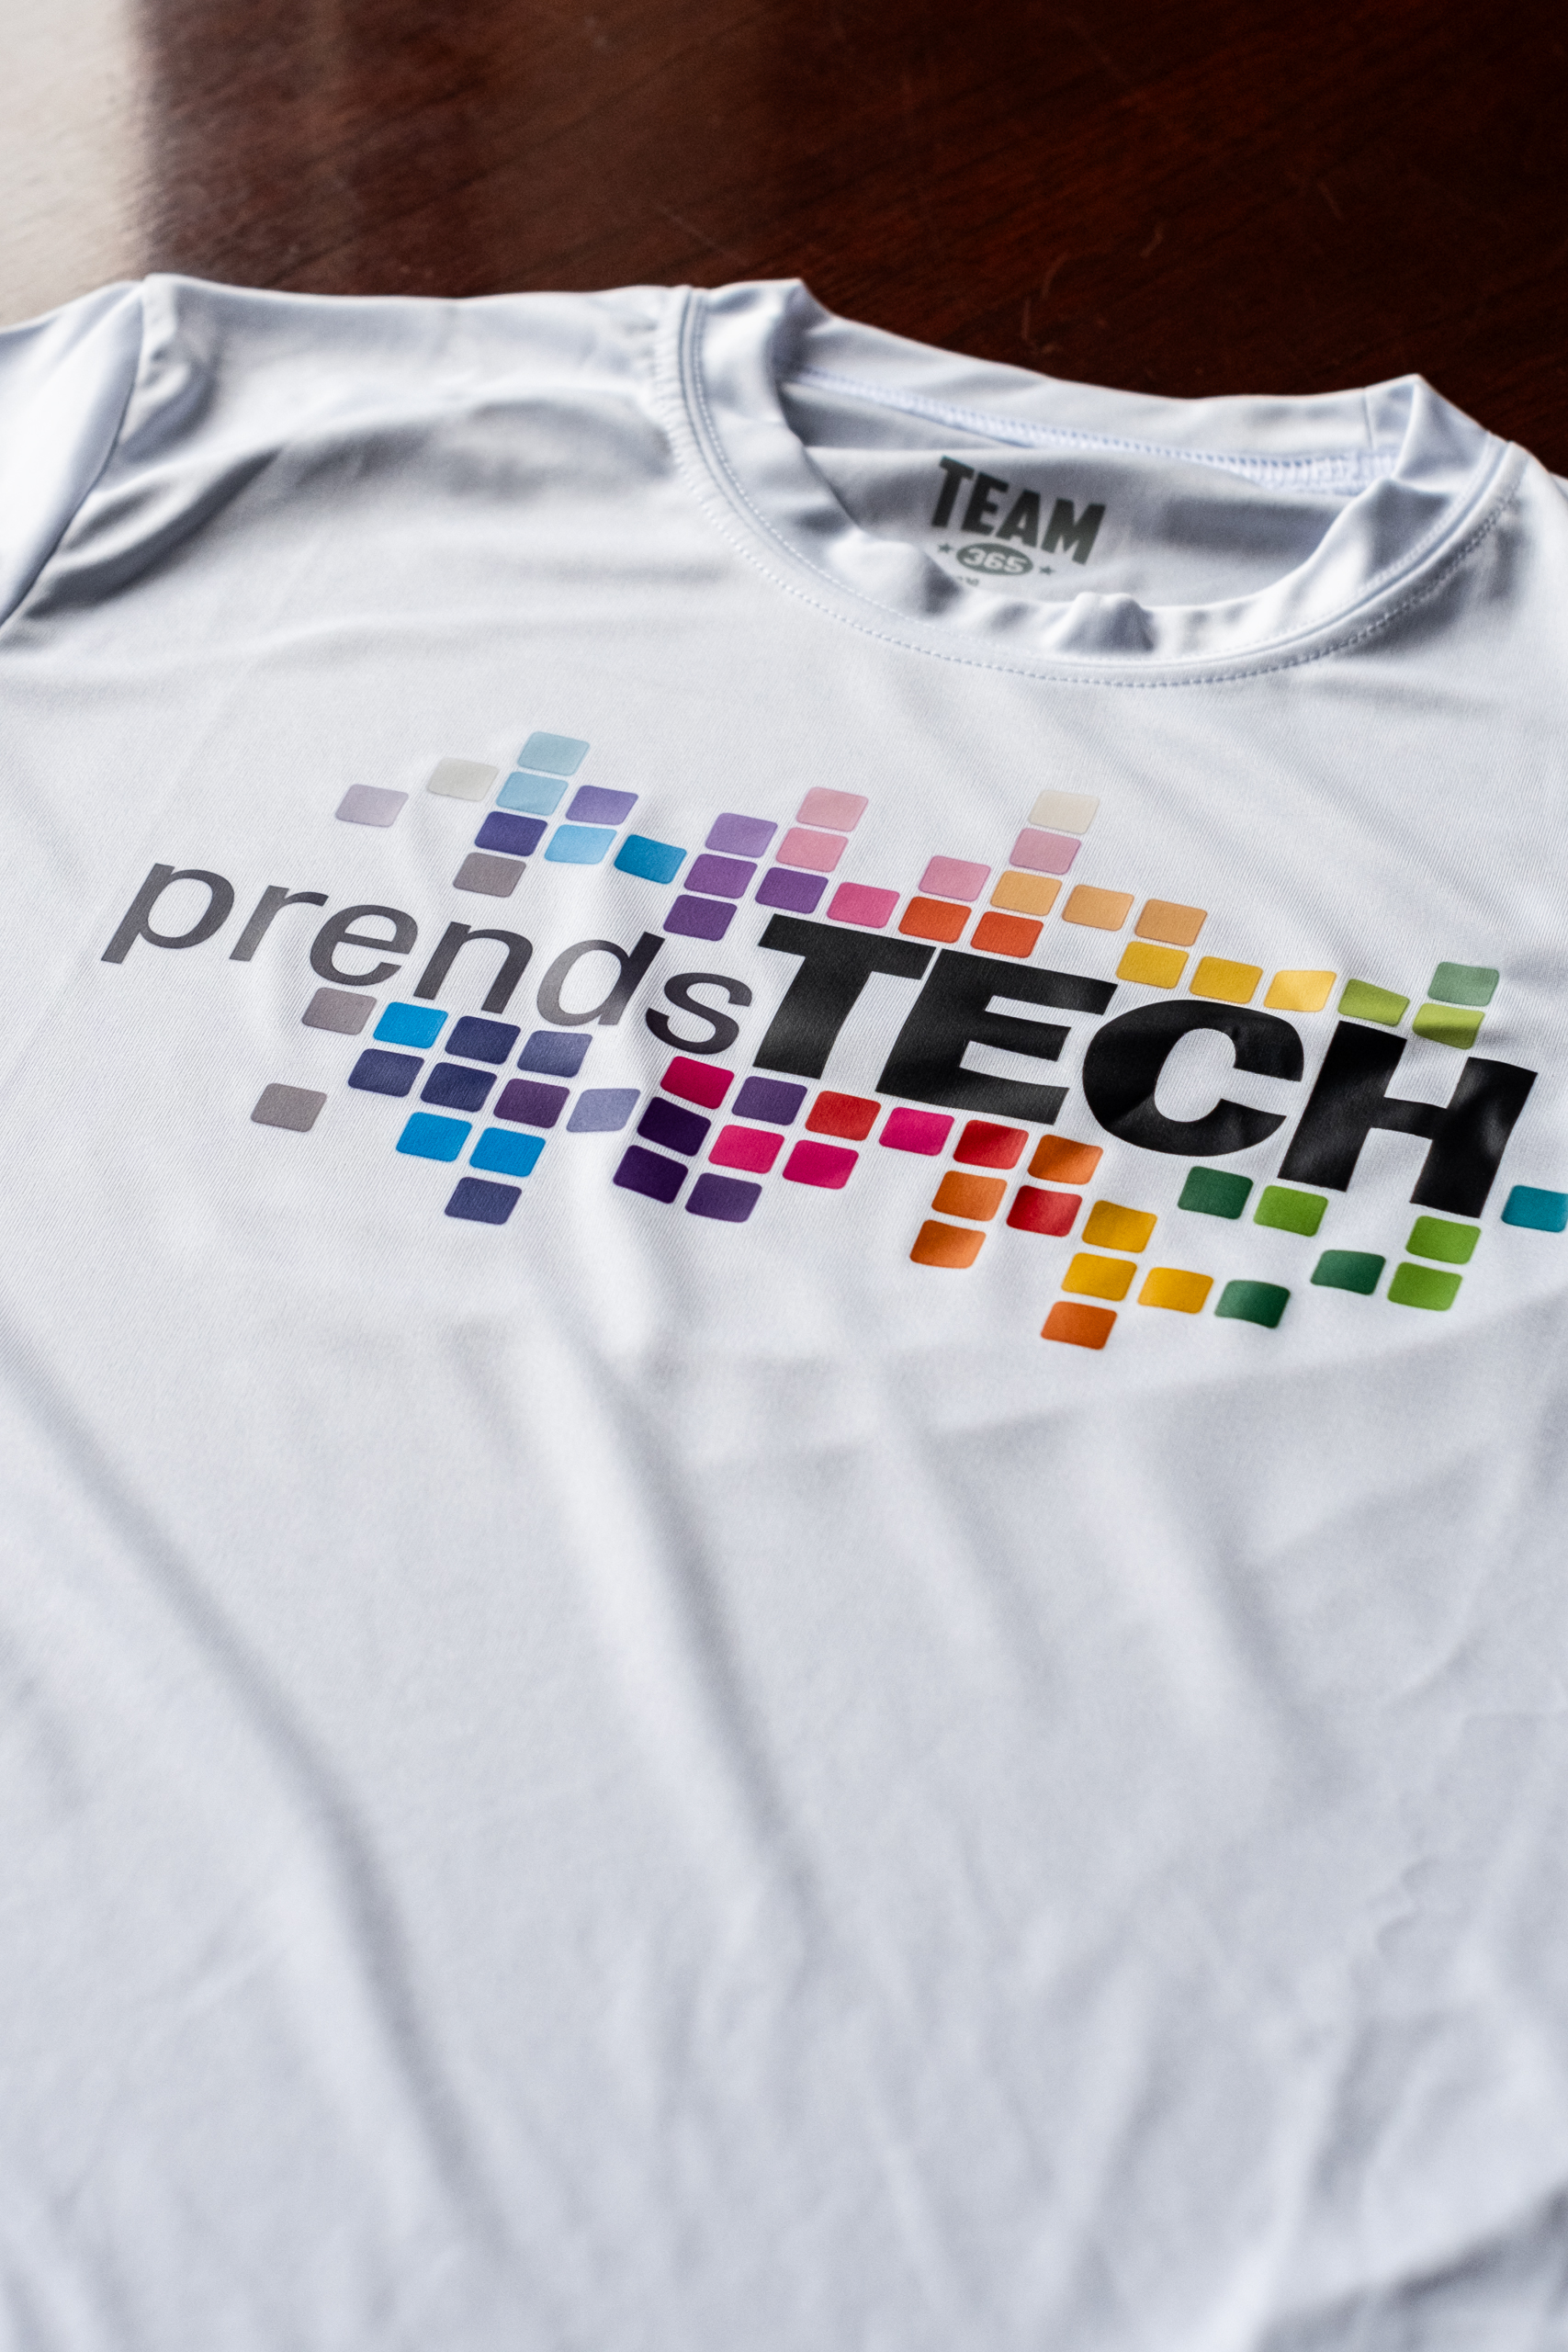
100% Polyester
Nylon
Why Full Color Fusion®?
When Detail And Color Matter Most.
Choose FCF when you need reliability, complexity, and consistent results. Perfect for apparel decorators running mid to large volume jobs who need speed without sacrificing quality.
Best For:
- Everyday cotton, poly blend garments and low melt materials (non-woven polypropylene).
- Creative artwork, concert shirts, and playful multi color designs.
- Mid to High volume production.
- FCF has error proof technology.
- The most cost-effective transfer that doesn’t compromise.
- Photo realistic artwork with sharp detail.
- Projects that require better quality than DTF.
Ganging
Pack More Into Every Sheet.
Free Gang Sheets. Not Extra Fees.
Maximize every 11.75” x 18” sheet with full-size artwork, left-chest logos, sleeve prints, or anything you can fit in the print area is yours to use. No hidden fees. No limitations.

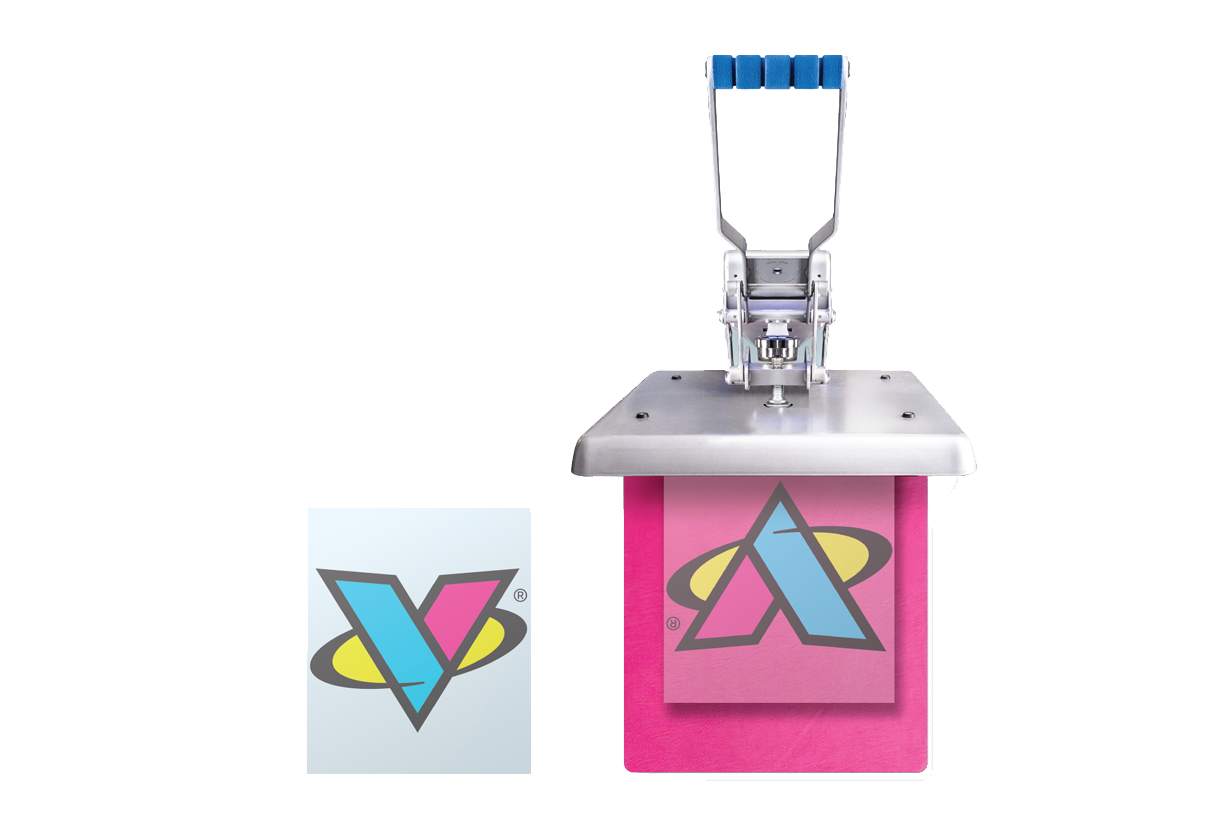
Application
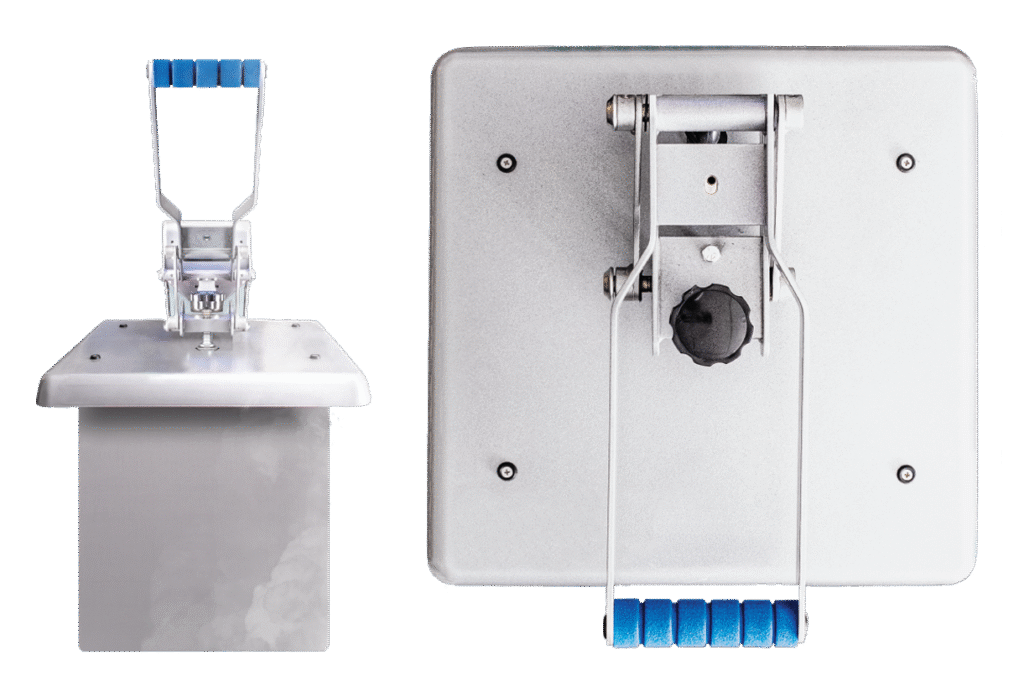
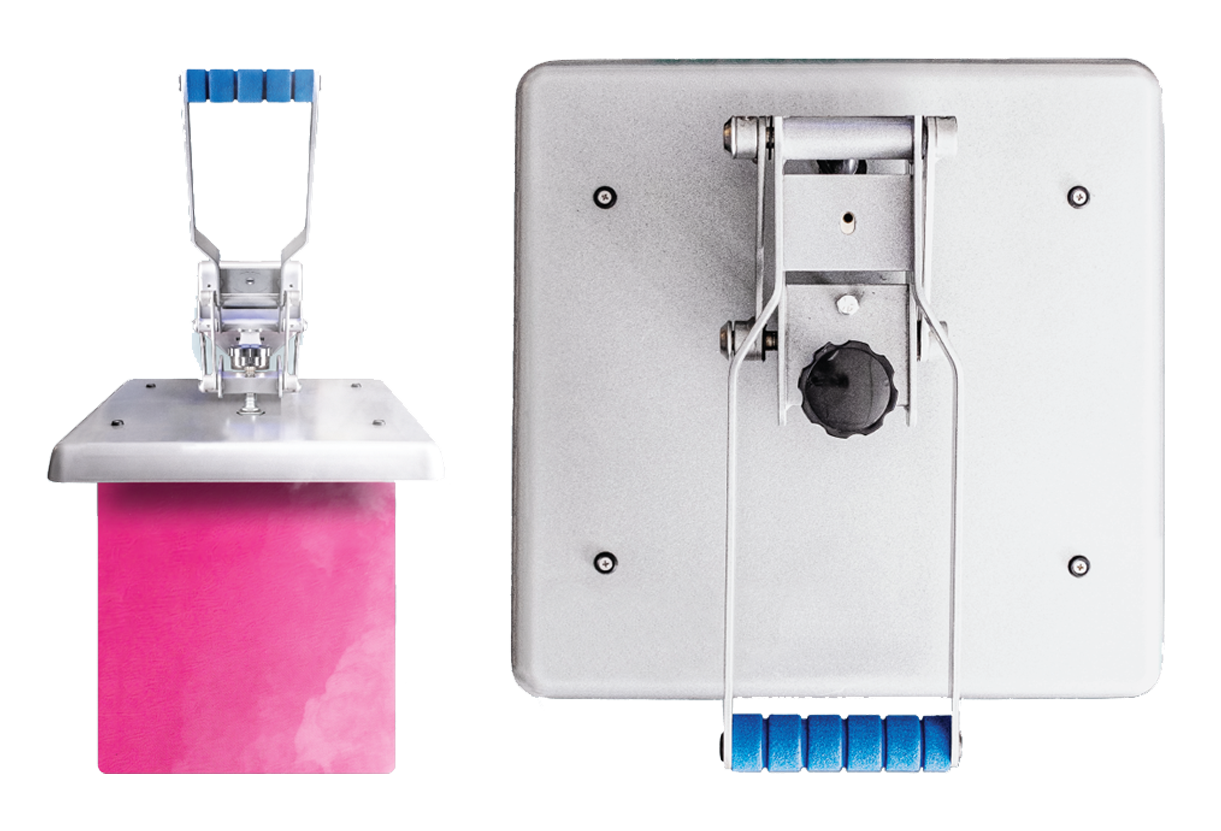
Press Like A Pro.
Always use a commercial heat press.
1. Pre-Press Platen
3 cycles at 320˚F/160˚C
Medium/Heavy pressure (6-8)/60-80 PSI
For 15 seconds.

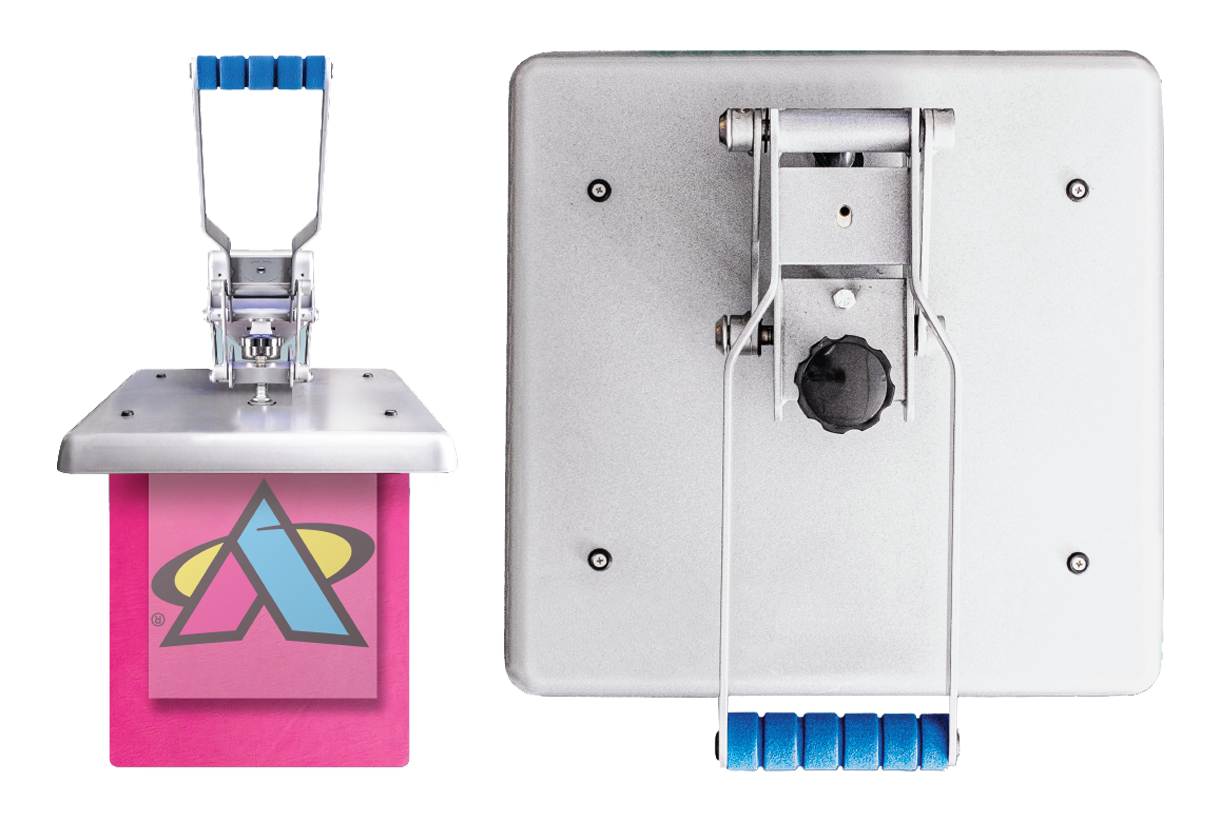
2. Adjust Press Settings
Set heat, pressure, and time according to settings dictated by material.

3. Load Garment
Open bottom of garment & slide
onto platen, making sure seams
are off the pressing area.
4. Pre-Press Garment
This removes moisture & wrinkles for a flat/dry pressing area
5. Position Transfer
Ensure transfer is not sitting on wrinkles, seams, or creases.
6. Press Transfer
According to material settings.
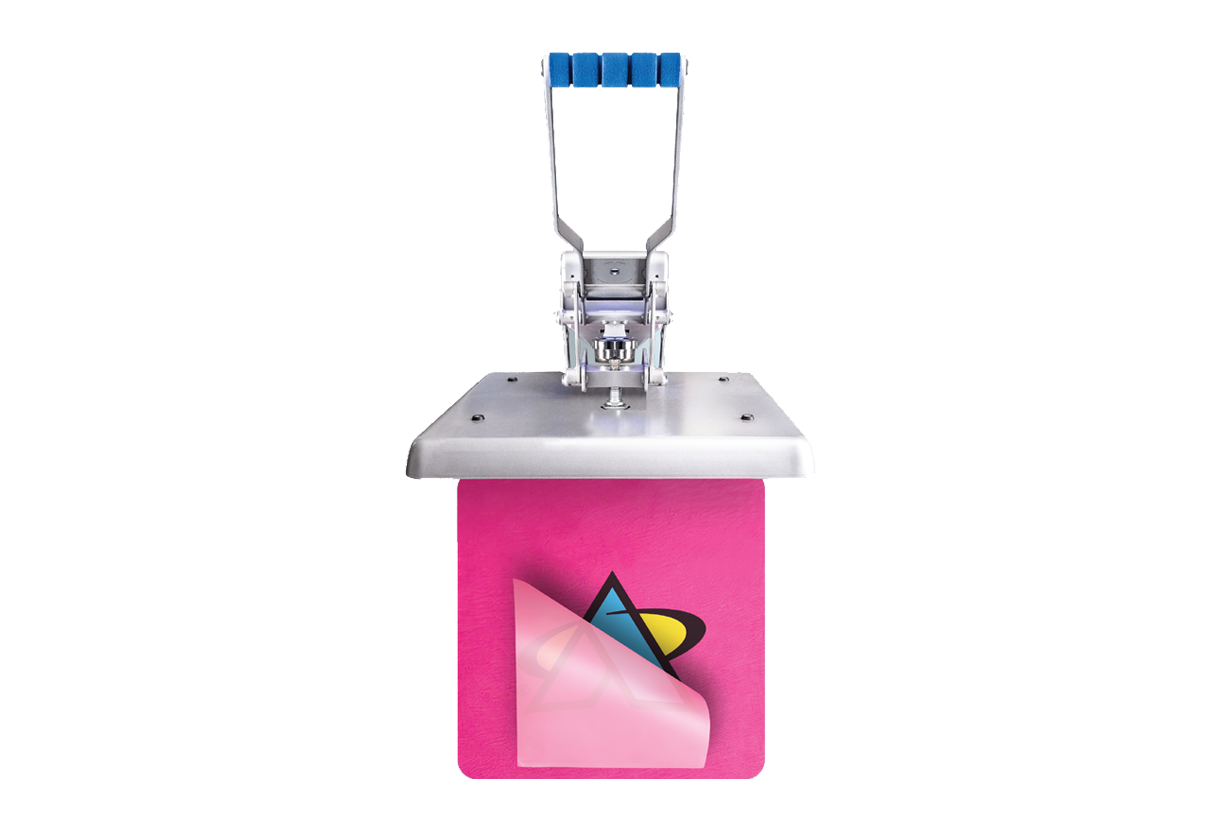
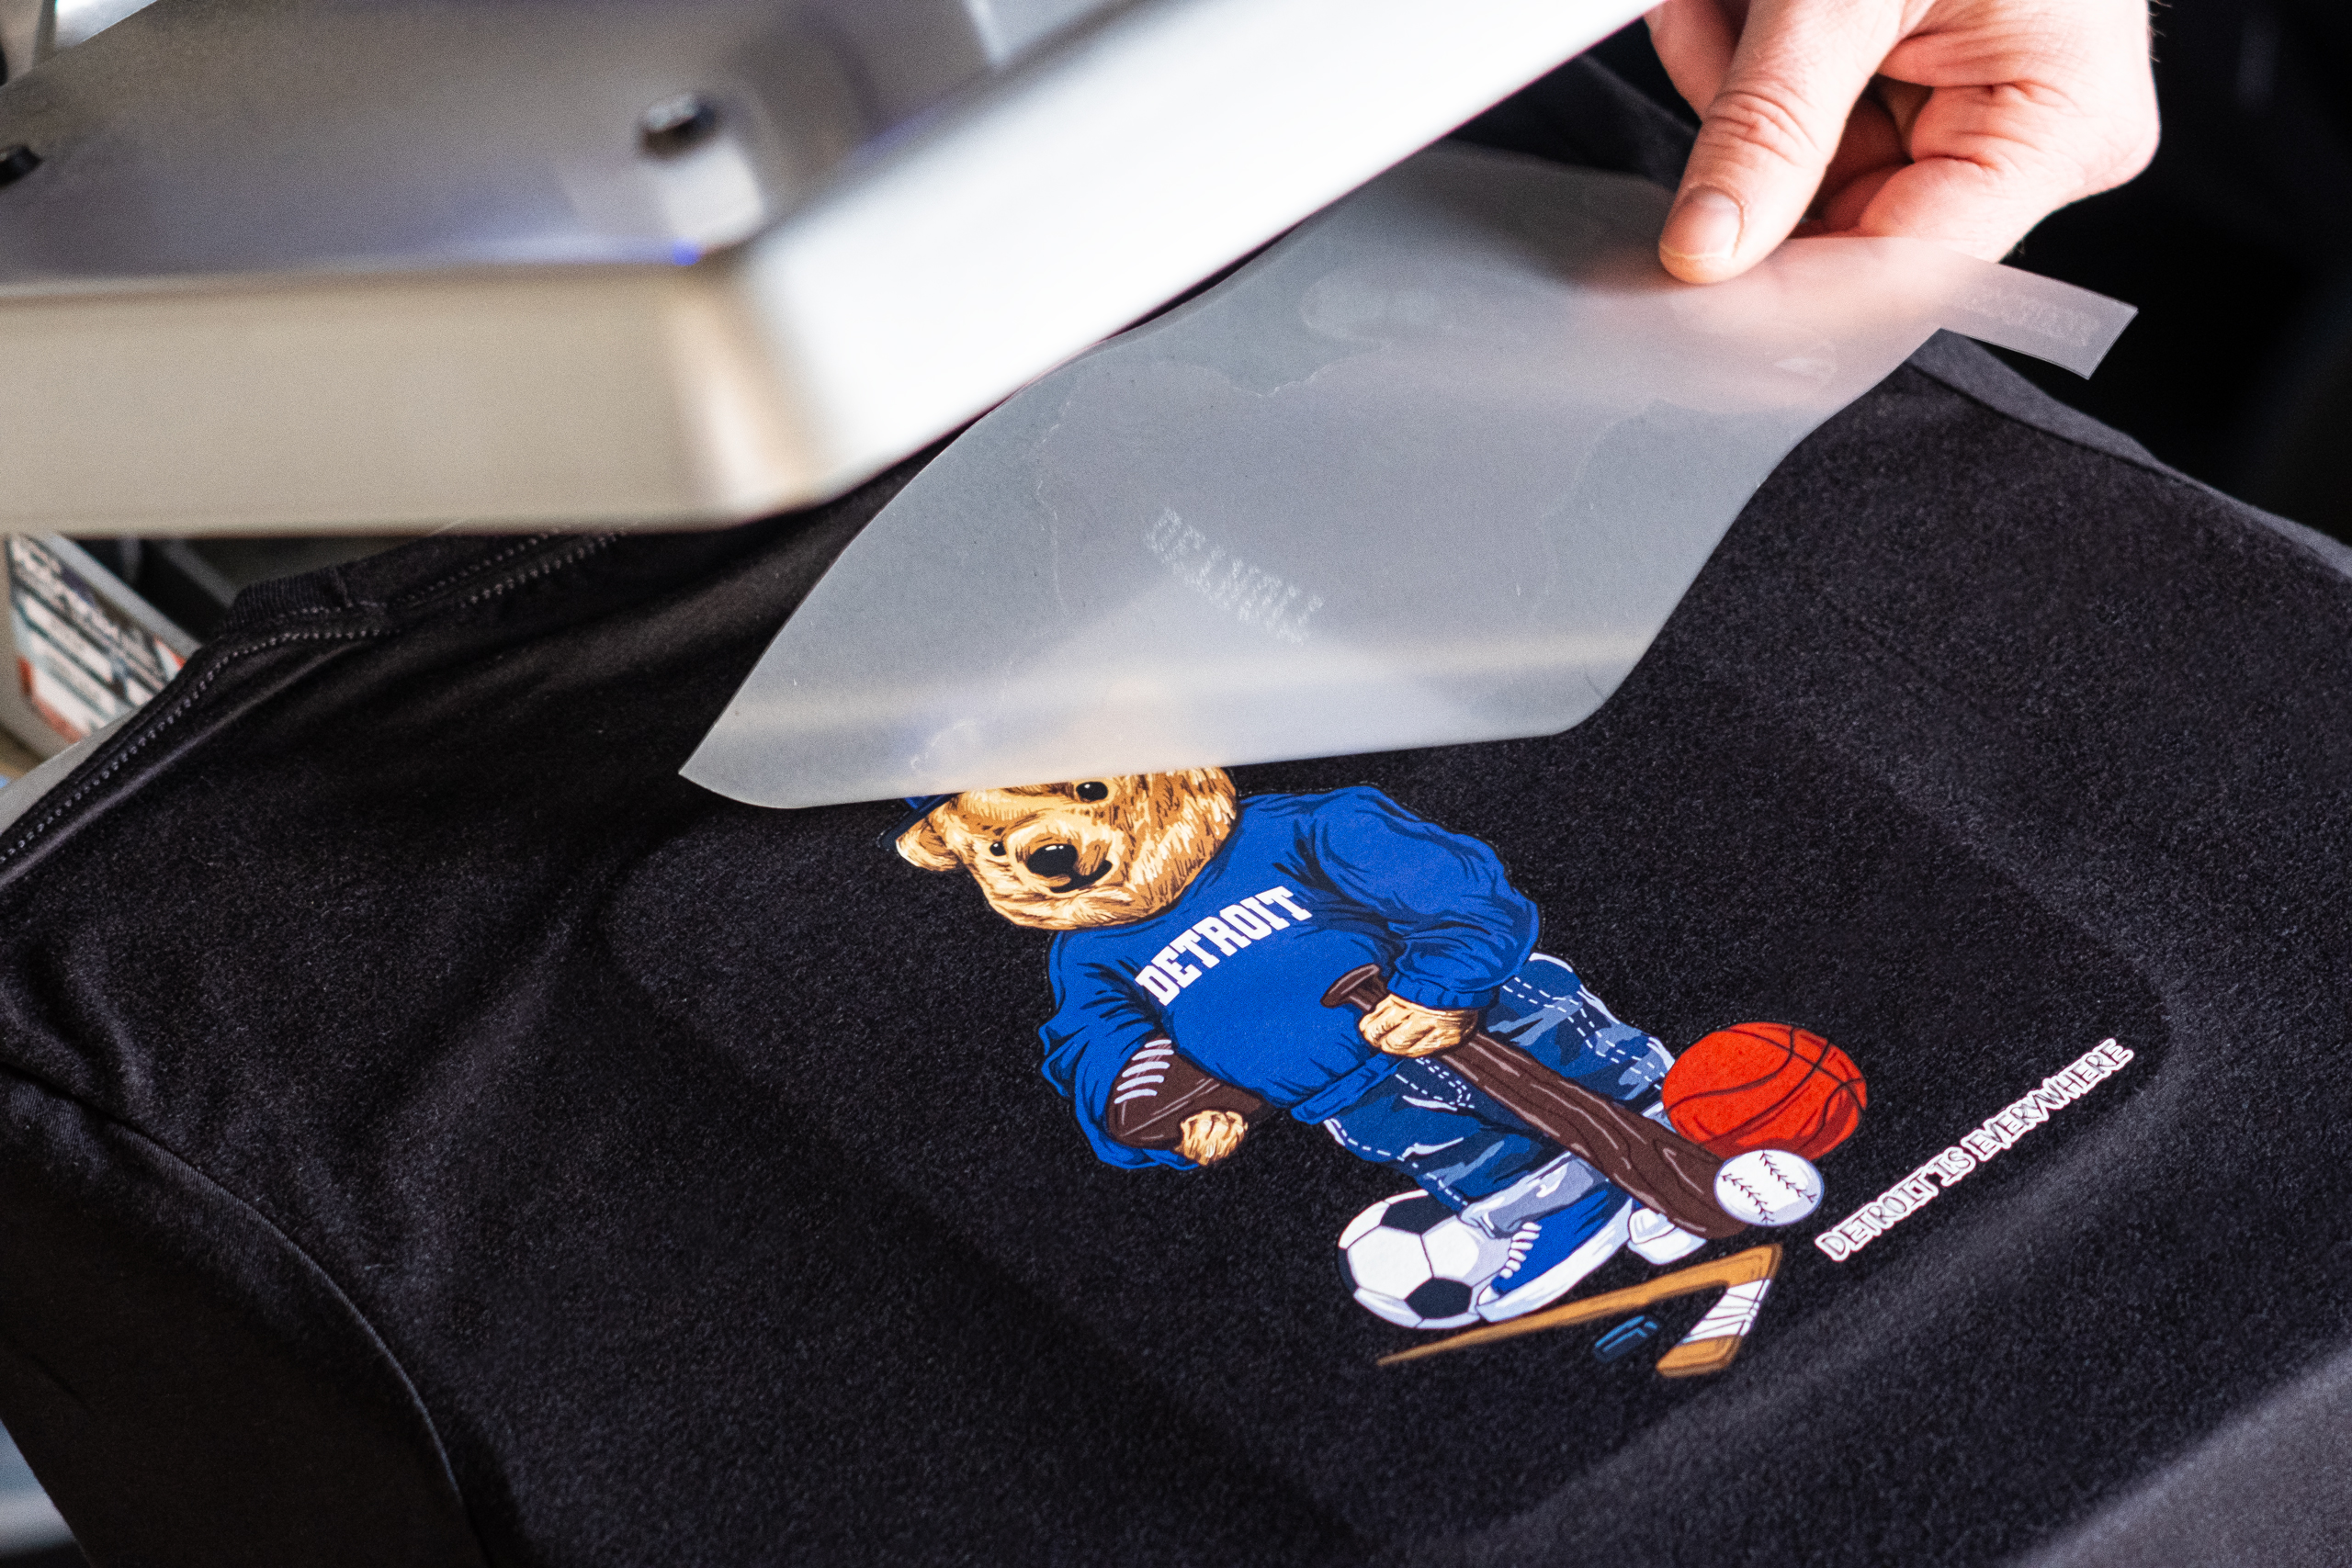
7. Peel Transfer
Peel with a smooth/steady motion.
Garment is Ready!
Washing Instructions
Machine wash warm.
Turn garment inside out
Do not bleach
Tumble dry ‑ medium heat
Do not iron
Heat Press Settings For FCF®
For Non-Heat Sensitive Fabrics
(100% Cotton and Cotton/Poly Blends)
- Press Temp: 305°F
- Pressure: Medium/Heavy 6-8 (60psi)
- Time: 10-12 Seconds
- Peel Warm/Cold
For Heat Sensitive Fabrics
(100% Polyester, Tri-Blends, Spandex
Mesh, Nylon, and Neoprene)
- Press Temp: 285°F
- Pressure: Medium/Heavy 6-8 (60psi)
- Time: 10-12 Seconds
- Peel Warm/Cold
For Low-Melt Materials
(Non-woven Polypropylene, PET)
- Press Temp: 270°F
- Pressure: Low/Medium 4-5 (40-50psi)
- Time: 10-12 Seconds
- Peel Cold